Most homeowners can safely handle a small patch of wet, uncured spray foam with acetone and good ventilation. The moment that foam has cured and bonded to roof sheathing, rafters, or structural timber, the job belongs to a certified professional. That line is not about confidence or tools. It is about protecting your home's structure, your health, and your ability to sell or remortgage the property.
Here is what you need to know right now:
- Wet foam (under ~24 hours): Wipe with acetone-soaked rags, ventilate the space, and dispose of rags safely. Act fast.
- Small cured patches on accessible surfaces: Careful mechanical removal with scrapers and an oscillating tool is possible, but only if the foam is not bonded to structural wood.
- Bonded, large-area, or closed-cell foam: Stop. Call a certified removal specialist. RICS guidance confirms that spray foam is effectively a permanent modification, and improper removal can expose hidden moisture damage that mortgage lenders will flag.
- Mortgage or survey flag: Do not attempt DIY. Lenders require written documentation of structural integrity and moisture levels, which only a certified inspection can provide.
The single most important rule: If a mortgage surveyor has flagged spray foam on your property, DIY removal will not satisfy your lender. You need a certified specialist, a formal method statement, and a post-removal inspection report.
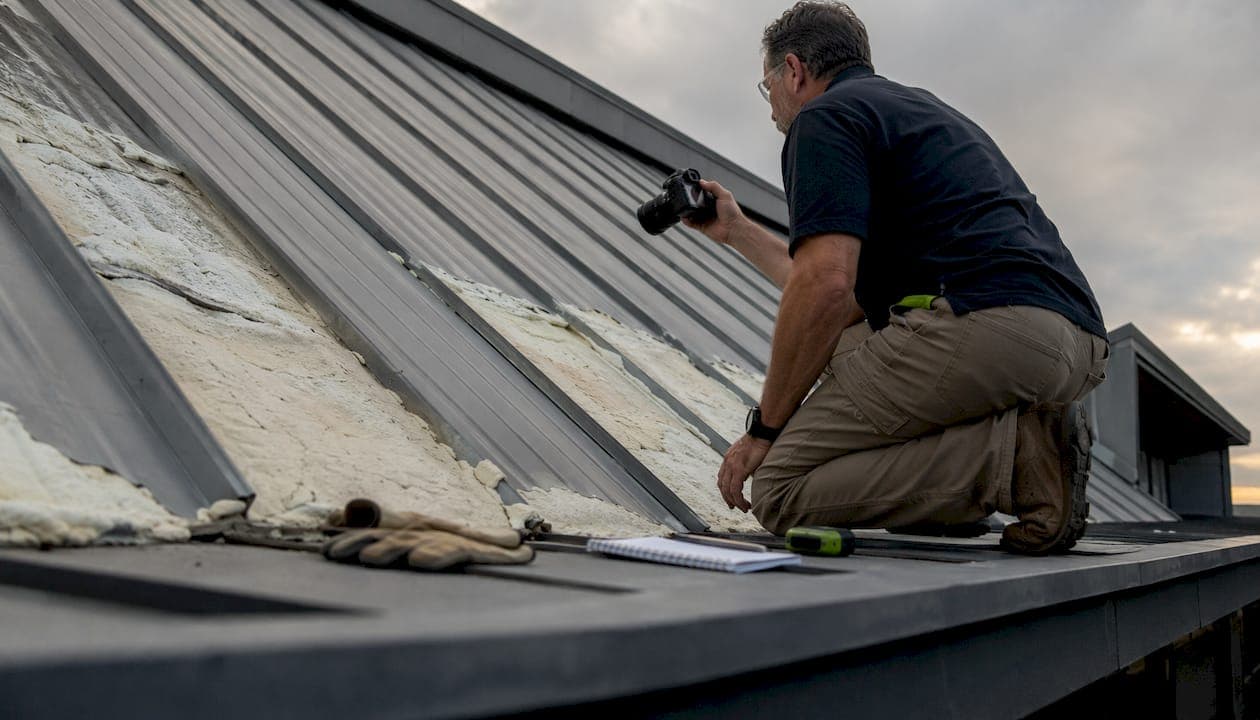
Document the area with photos before touching anything. If you suspect moisture, mold, or foam encasing wiring, isolate the space and contact a specialist like Sprayfoamremovalhelp before proceeding.
Table of Contents
- What should you do if the foam is still wet or freshly applied?
- Which solvents actually work, and which ones waste your time?
- How do you remove cured spray foam from a roof mechanically?
- What PPE and site protection do you need before starting?
- When should you hire a professional instead of doing it yourself?
- What does a professional removal cost, and how long does it take?
- Why does post-removal inspection matter for your mortgage and resale?
- Key Takeaways
- The mistake most homeowners make before calling us
- Useful sources and further reading
- Sprayfoamremovalhelp: certified removal when the stakes are real
What should you do if the foam is still wet or freshly applied?
Speed matters with uncured foam. Polyurethane spray foam typically has a working window of roughly 24 hours before it cures fully, and the earlier you act, the less mechanical work you face later.
Follow these steps in order:
- Ventilate immediately. Open windows, run exhaust fans, and keep people and pets out of the space. Uncured foam releases isocyanate vapors that irritate the respiratory system.
- Protect surrounding surfaces. Lay plastic sheeting over gutters, landscaping, and any HVAC intakes before you start wiping. Wet foam spreads and sticks to almost everything.
- Wipe with acetone. Dampen a rag with acetone or lacquer thinner and wipe the foam away before it sets. Work in small sections. Replace rags frequently.
- Contain and dispose of rags. Seal contaminated rags in a heavy-duty plastic bag. Check your local waste authority's guidelines for chemical-soaked materials before disposal.
- Inspect the area after cleanup. Look for any foam that reached crevices, wiring, or timber joints. Foam in those locations needs professional attention even if it is still wet.
Pro Tip: If you do not know whether the foam is open-cell or closed-cell, photograph the label on any remaining product canisters. Closed-cell foam cures harder and faster, and it bonds more aggressively to structural surfaces. That information matters when you call a specialist.
Clear DIY limits: do not attempt wet-foam cleanup if the foam has reached electrical wiring, if it covers more than a small surface area, or if you cannot safely access the space with proper PPE. Those situations call for emergency spray foam removal by a trained team.
Which solvents actually work, and which ones waste your time?
The short answer: solvents only work on foam that has not fully cured. Once polyurethane foam hardens, chemical solvents like acetone, WD-40, and Goo Gone have no meaningful effect on it. This is one of the most common misconceptions homeowners bring to a removal project.
Here is what each solvent can and cannot do:
- Acetone: Dissolves wet or tacky foam effectively. Softens thin residue on hard surfaces. Flammable and harsh on painted finishes.
- Lacquer thinner: Similar to acetone, useful for wiping fresh foam from tools and surfaces. Contractors often use it after bulk removal to clean residue. No effect on cured foam.
- WD-40 / Goo Gone: Manufacturers and specialist removers confirm these are not reliable for cured foam. They may loosen surface-level residue on non-porous materials but will not break down bonded polyurethane.
- Commercial foam cleaners (e.g., Great Stuff Pro Foam & Fill Cleaner): Designed for uncured foam on tools and surfaces. Read the label; most specify "uncured only."
Solvent safety warning: Acetone and lacquer thinner are highly flammable. Never use them near open flames, pilot lights, or in enclosed spaces without ventilation. Wear chemical-resistant gloves and safety goggles. Test any solvent on a hidden area first, because both can strip paint, stain wood, and damage roofing membranes.
The practical rule: use solvents only for wet foam or as a finishing step after mechanical bulk removal. Reaching for a bottle of WD-40 to tackle a cured, bonded foam job will cost you time and leave the foam exactly where it is.
How do you remove cured spray foam from a roof mechanically?
Mechanical removal is the standard method for cured foam, and it requires the right tools and a disciplined workflow to avoid damaging the substrate beneath.
Tools you will need:
- Utility knife or box cutter (for scoring edges)
- Reciprocating saw with a fine demolition blade (for bulk cutting)
- Oscillating multi-tool (for controlled cuts near surfaces)
- Putty knives and stiff scrapers (for residue)
- Chisel and hammer (for tight spots)
- Small angle grinder (for stubborn bonded patches, with dust shroud)
- HEPA vacuum (for dust and debris)
- Negative-air machine or box fan with HEPA filter (for containment)
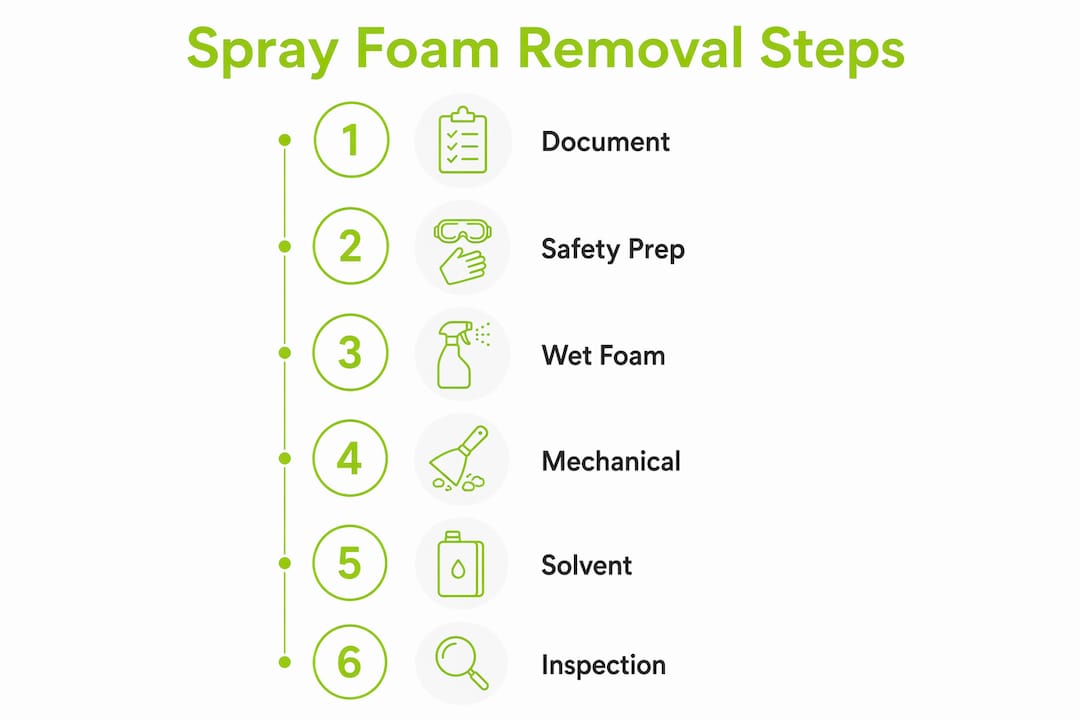
Step-by-step workflow:
- Score the edges of the foam section with a utility knife to define your cut lines.
- Cut bulk foam out in manageable sections using a reciprocating saw. Keep cuts shallow to avoid gouging the substrate.
- Chisel and scrape remaining foam from the surface. Work slowly.
- HEPA-vacuum all dust and debris before it spreads.
- Sand or smooth the surface where needed, then vacuum again.
Surface-specific notes matter here. Asphalt shingles and membrane roofs are fragile. Aggressive scraping can tear the membrane or lift granules, creating new leak points. Use plastic scrapers first on these surfaces, and keep power tools away from membrane edges. Metal roofing tolerates mechanical work better, but plastic scrapers still protect the coating. Wood sheathing is the most forgiving for scraping, but expect some surface gouging. Plan for a post-removal inspection to assess whether the wood needs treatment or replacement.
Pro Tip: Before cutting into any roof cavity, confirm the power is off to that area. Cured foam frequently encases wiring. Cutting through an energized wire with a reciprocating saw is a serious hazard. If you cannot confirm the circuit is dead, stop and call a professional.
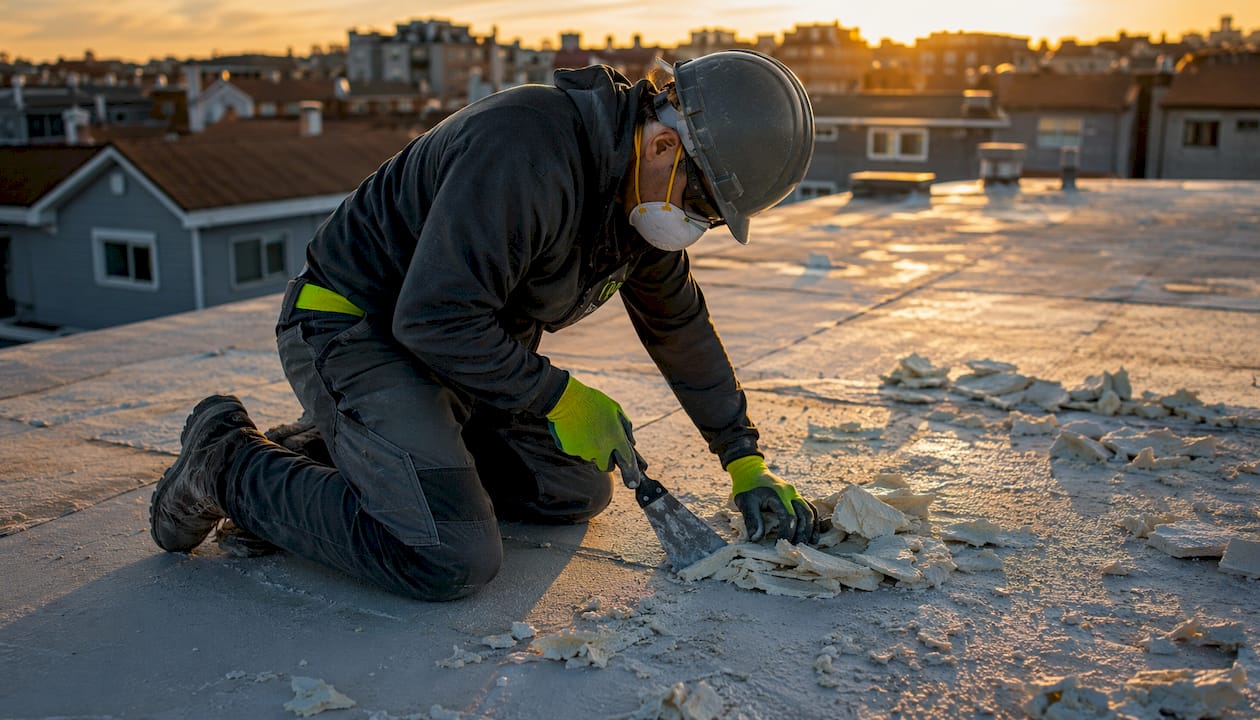
DIY removal steps like these work for small, accessible patches. For anything bonded to rafters or covering a large area, the risk of substrate damage and inadequate dust control makes professional removal the safer and often cheaper long-term choice.
What PPE and site protection do you need before starting?
Cured foam dust contains isocyanate residues. That is not a minor irritant. Isocyanates are a leading cause of occupational asthma, and HEPA filtration and containment are standard practice even on small jobs.
PPE checklist:
- Respirator rated N95 minimum; P100 half-face respirator for dense closed-cell foam or any grinding work
- Safety goggles (not just glasses; foam dust gets into eyes)
- Long sleeves and disposable coveralls
- Chemical-resistant gloves (nitrile or neoprene)
- Hearing protection when using power tools
Fall protection for roof and attic work:
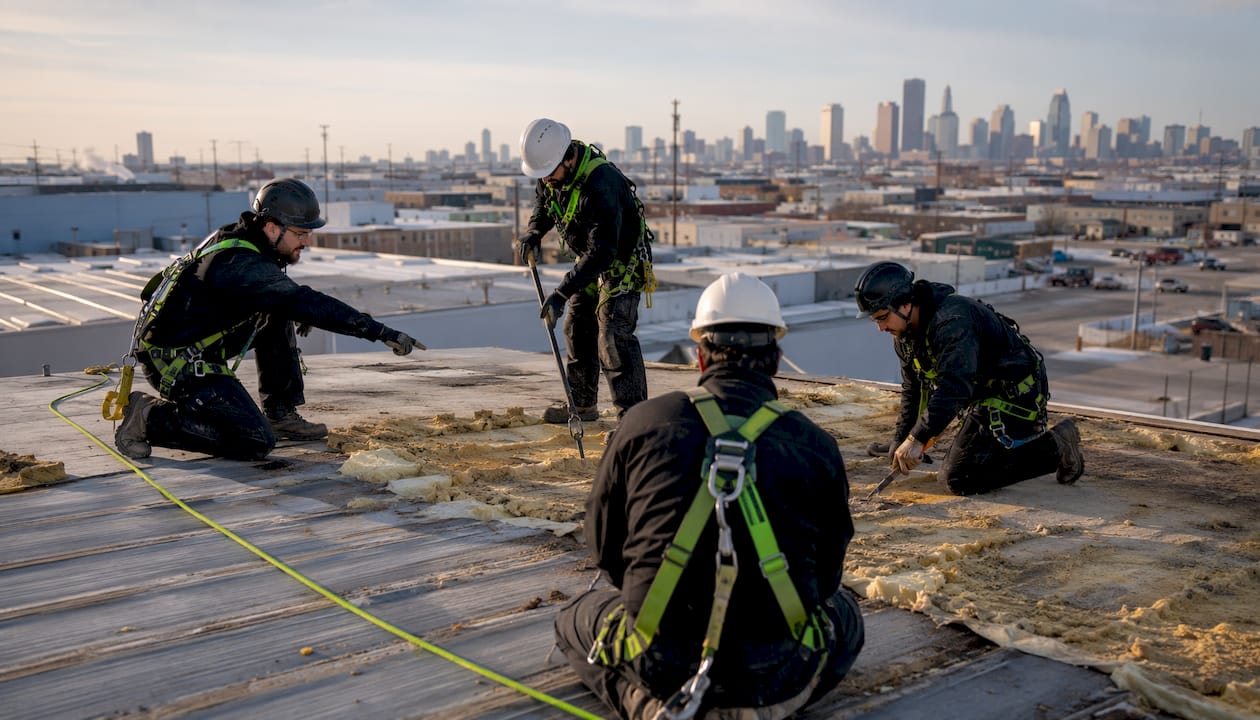
- Wear a full-body harness with a roof anchor when working on any pitched surface
- Use roof jacks and planks to create a stable working platform
- Never work on a roof alone. A second person on the ground is a minimum safety requirement.
Protecting the property:
- Cover gutters with temporary tarps or plastic sheeting before work begins to catch foam debris
- Cover landscaping, HVAC intakes, and any windows below the work area
- Pad tool contact points on fragile roofing surfaces to prevent scratching or puncture
- Run a HEPA-filtered negative-air machine or box fan to keep dust from migrating into living spaces
Containment is not optional for large jobs. Foam dust and debris from a full attic removal can contaminate HVAC systems and living areas if the work zone is not sealed. Professionals use negative-air machines and sealed containment barriers as standard practice. For a DIY job covering more than a few square feet, replicate that setup as closely as you can.
When should you hire a professional instead of doing it yourself?
Some jobs are simply beyond safe DIY scope. Use this checklist to decide quickly.
Call a certified specialist if any of these apply:
- The foam is bonded to roof sheathing or rafters
- The foam is closed-cell (denser, harder, and more aggressively bonded).
- The affected area exceeds roughly 100 square feet
- You can see or smell evidence of moisture, mold, or rot
- The foam encases electrical wiring
- A mortgage surveyor or lender has flagged the foam
- The property is listed or has heritage restrictions
- You do not have access to HEPA containment equipment
What professionals deliver that DIY cannot:
- A pre-job site survey and written method statement (required by most lenders)
- Controlled mechanical stripping with proper dust containment
- Timber moisture testing during and after removal
- Formal post-removal certification for lenders and buyers
Professional removal is recommended for most roof foam jobs because DIY attempts frequently damage rafters and sheathing. That damage often costs more to repair than the removal itself.
The mortgage angle is decisive. If a surveyor has flagged spray foam, lender-compliant documentation is required. A DIY job, however careful, will not produce the inspection report and certification a lender needs to proceed. You can learn more about how foam affects mortgage approval in the spray foam mortgage guide from Sprayfoamremovalhelp.
What does a professional removal cost, and how long does it take?
Professional foam insulation removal costs more than most homeowners expect, and the final bill often exceeds the original installation cost. That is not a surprise to specialists: containment, disposal, and remediation of underlying damage all add to the total.
Typical U.S. cost ranges:
| Cost Category | Typical U.S. Range |
|---|---|
| Open-cell foam removal (per sq ft) | $1–$8 |
| Closed-cell foam removal (per sq ft) | $3–$12 |
| Debris disposal | $100–$800 |
| Re-insulation and repair | Varies by scope |
| Full attic job (anecdotal range) | $4,000–$15,000 |
Sources: Green Service Insulation, Dropcurb
What drives the price up:
- Closed-cell foam bonded to the roof deck (hardest to remove)
- Need for negative-air containment setup
- Mold or rot remediation discovered during removal
- Difficult access (low attic clearance, steep pitch)
- Waste disposal surcharges in your region
Timeline by job size:
- Small spot repair or isolated patch: 1 day
- Typical single-family attic: 2–5 working days
- Complex bonded closed-cell project with remediation: several days to a week or more
Budget for the full scope, not just the extraction labor. Disposal fees, moisture testing, and re-insulation are real line items that can push a mid-range job well past the initial quote—some closed-cell attic jobs can exceed $15,000 depending on difficulty. The Sprayfoamremovalhelp cost hub breaks down these categories in detail.
Why does post-removal inspection matter for your mortgage and resale?
Removing the foam is only part of the job. Without written documentation of what was found and fixed, a future lender or buyer's surveyor may still flag the property. RICS guidance is clear: spray foam can trap moisture and cause hidden timber rot, and post-removal inspections are often required by mortgage lenders to verify structural integrity.
Steps to take after removal:
- Commission an independent timber and moisture inspection from a qualified surveyor.
- Request a lender-oriented certificate confirming removal method, moisture readings, and structural condition.
- Preserve all before-and-after photographs and the contractor's method statement.
- Obtain and file disposal receipts for the removed foam waste.
- Keep the full documentation package in a single file for future buyers or lenders.
Documentation your lender may require:
- Pre-job survey report
- Written method statement from the removal contractor
- Moisture readings taken before and after removal
- Scope of any repairs made to timber or sheathing
- Formal post-removal certification report
Some lenders will not proceed with a mortgage even after removal if they cannot see written evidence that the structure is sound and moisture is within acceptable thresholds. A certified inspection resolves that. Sprayfoamremovalhelp provides lender-oriented certification as part of its removal service, which is exactly what you need to keep a sale or remortgage on track.
Key Takeaways
Roof spray foam removal is safe for small wet patches but requires a certified professional for any bonded, large-area, or mortgage-flagged job.
| Point | Details |
|---|---|
| Solvents work only on wet foam | Acetone and lacquer thinner dissolve uncured foam; they have no effect on fully cured polyurethane. |
| Mechanical removal is the standard | Score, cut, chisel, and HEPA-vacuum cured foam; protect the substrate at every step. |
| Hire a pro for bonded or flagged jobs | Closed-cell foam, large areas, moisture evidence, or a lender flag all require certified removal. |
| Budget beyond extraction labor | Disposal ($100–$1,000+), remediation ($500–$10,000+), and re-insulation add significantly to total cost. |
| Sprayfoamremovalhelp provides certification | Their certified removal includes the post-removal inspection report lenders require for mortgage approval. |
The mistake most homeowners make before calling us
The pattern we see most often is this: a homeowner discovers spray foam in the attic, reads that acetone dissolves it, spends a weekend making no real progress, and then calls a specialist after damaging the sheathing with an angle grinder. By that point, the repair scope has grown, and so has the bill.
The second most common mistake is assuming that removing the foam yourself will satisfy a lender. It will not. Lenders do not want to know that the foam is gone. They want a signed inspection report confirming the timber is sound and moisture levels are acceptable. That document requires a qualified surveyor, not a receipt from a tool rental shop.
Where DIY genuinely makes sense: a small, wet patch caught within the first few hours, on a non-structural surface, with proper PPE and ventilation. That is a reasonable home repair. Everything else, especially anything involving bonded closed-cell foam or a mortgage timeline, is a job for a certified team.
A proper pre-job survey almost always saves money. It identifies moisture damage before removal begins, so the scope is defined and priced accurately rather than discovered mid-job. Homeowners who skip the survey tend to face the largest cost surprises.
Useful sources and further reading
These resources give you deeper technical detail, cost context, and guidance on lender requirements:
- RICS consumer guide: spray foam insulation — Authoritative guidance on how spray foam affects property surveys and mortgage lending, including post-removal inspection requirements.
- How to Remove Spray Foam Insulation (Timbrik) — Practical step-by-step breakdown of mechanical removal methods and solvent limits for cured and uncured foam.
- Spray Foam Removal Cost (Green Service Insulation) — Detailed U.S. cost breakdown including disposal, remediation, and re-insulation line items.
- Insulation Removal Cost (Dropcurb) — Market cost survey with per-square-foot ranges and real job quote examples for attic removals.
- Cured Expanding Foam Remover (SprayFoamSys) — Manufacturer-level guidance on why common household solvents do not work on cured polyurethane foam.
- Removing Spray Foam Insulation: UK Homeowner Guide (National Spray Foam Advice) — Detailed professional removal workflow, timeline expectations, and lender compliance context.
- Spray Foam Mortgage Guide (Sprayfoamremovalhelp) — Explains how spray foam affects mortgage approval and what certified removal documentation lenders expect.
- Spray Foam Insulation Guide (Sprayfoamremovalhelp) — Background on foam types, removal challenges, and when to book a professional assessment.
- Free Inspection (Sprayfoamremovalhelp) — Book a no-cost on-site inspection and itemized estimate before committing to a removal project.
- Roofing Management (Sprayfoamremovalhelp) — Covers roof protection during remediation and long-term management after foam removal is complete.
Sprayfoamremovalhelp: certified removal when the stakes are real
When the foam is bonded, the lender is waiting, or the moisture readings are unknown, you need more than a handyman with a scraper.

Sprayfoamremovalhelp connects you directly with the certified technicians doing the work, with no middlemen and no hidden fees. Every job includes a pre-job survey, a written method statement, controlled mechanical removal with HEPA containment, timber moisture testing, and a formal post-removal certificate your lender will accept. The team holds PCA certification and backs every job with a 10-year insurance-backed warranty.
If your property has been flagged by a surveyor, or you simply want to know what you are dealing with before spending money, the free on-site inspection is the right first step. For urgent situations where wet foam is spreading or a sale is at risk, the emergency removal service is available for rapid response. Book your inspection today and get a clear, honest picture of what the job involves and what it will cost.