TL;DR:
- Spray polyurethane foam can shrink after installation, leading to cracks or delamination that increase moisture risks in roofs. Homeowners should photograph, measure gaps, and consult qualified surveyors to assess potential damage before proceeding with removal. Lenders often refuse mortgages on properties with foam issues, making professional removal essential for mortgage compliance.
Yes, spray polyurethane foam (SPF) can and does shrink after installation. The two most common outcomes are thermal cracking (fine fissures running across the foam surface) and delamination (the foam pulling away from rafters or substrate). Both create air gaps that raise moisture levels in timber and, in the UK, can trigger mortgage refusal.
If you suspect shrinkage in your roof, take these steps now:
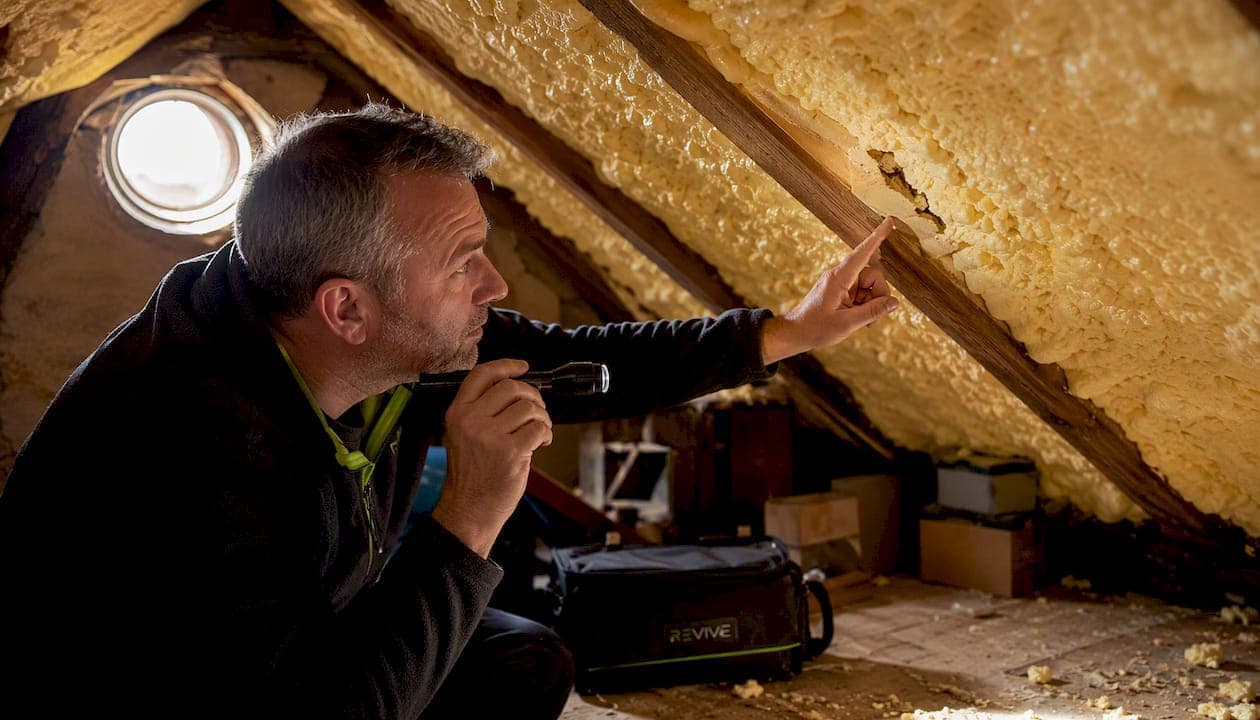
- Photograph everything. Use a torch and camera to capture any visible gaps, cracks, or areas where foam has pulled away from rafters. Date-stamp the images.
- Record visible gap widths. Even a 1 mm gap between insulation and rafter can increase relative humidity in the outer timber region and reduce summer drying efficiency.
- Contact a certified surveyor. If you are selling, remortgaging, or can see delamination, request a RICS-qualified surveyor or a PCA-certified inspection. An invasive inspection is warranted wherever timber rot or active mortgage activity is at stake.
Table of Contents
- Does spray foam shrink, and what does it look like?
- What causes spray foam to shrink?
- How to spot shrinkage: an inspection checklist
- Why shrinkage matters in the UK: structural risks and mortgage implications
- Immediate steps to take if you suspect shrinkage
- Repair choices: from monitoring to full removal
- How to choose a removal specialist: checklist and red flags
- How professional removal works: what to expect
- When is monitoring acceptable, and when should you remove?
- Key takeaways
- A practical perspective on spray foam shrinkage
- Sprayfoamremovalhelp: certified removal across London and the South East
- Useful sources
- FAQ
Does spray foam shrink, and what does it look like?
Spray foam insulation shrinkage is the technical term for foam pulling back from its original cured dimensions. It is distinct from normal curing: all SPF products cure and firm up over 24–72 hours after application, but shrinkage is a secondary, often progressive movement that occurs days, weeks, or even years later.
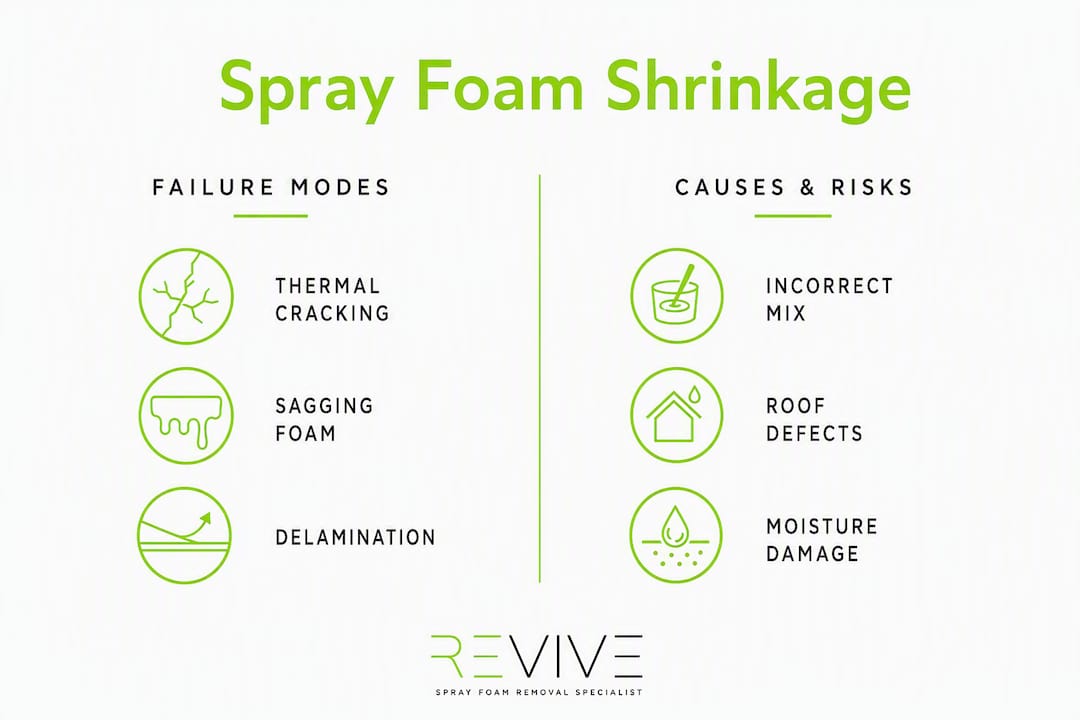
Two failure modes matter most in practice: for more on choosing the best insulation see The Best Insulation Types For UK Garden Buildings.
| Failure mode | What you see | Typical cause |
|---|---|---|
| Thermal cracking | Fine surface fissures, often in a grid or diagonal pattern | Repeated thermal cycling; rigid closed-cell foam expanding and contracting |
| Delamination | Foam pulling cleanly away from rafters, leaving a visible gap | Poor adhesion, substrate contamination, or timber movement |
Open-cell foam is softer and more flexible. It tends to sag or compress rather than crack, and its open structure means moisture can pass through it. Shrinkage in open-cell products often shows as a gradual loss of contact with the substrate rather than a dramatic split.
Closed-cell foam is rigid and dense. It resists moisture vapour but is far less tolerant of movement. When timber expands and contracts seasonally, closed-cell foam can crack or delaminate at the bond line. RICS notes that modern failures are frequently linked to mix proportions or application skill rather than the material itself.
The scale of shrinkage varies widely. Minor surface crazing with no gap at the rafter is low risk. Delamination creating a visible air channel along the full rafter length is high risk and warrants urgent inspection.
What causes spray foam to shrink?
Most shrinkage traces back to one or more of these factors:
- Incorrect chemical mix ratio. SPF is a two-component system. If the A-side (isocyanate) and B-side (polyol blend) are off-ratio, the foam cures with weakened cell structure and is prone to dimensional instability.
- Excessive lift thickness. Applying foam too thickly in a single pass generates intense internal heat (exotherm). That heat degrades the cell walls before they fully cure, leaving a brittle matrix that shrinks as it cools.
- Substrate temperature and humidity. Foam applied to cold or damp timber bonds poorly. The Gov.uk research summaries confirm that incorrect application or failure to account for substrate conditions is a primary cause of shrinkage in UK installations.
- Poor adhesion to timber. Dusty, wet, or treated timber surfaces prevent the foam from bonding fully. The foam cures in place but is not truly adhered, so any movement breaks the contact.
- Layered lifts that cure improperly. When a second lift is applied before the first has fully cured, the interface between layers can fail, producing internal delamination invisible from the surface.
- Seasonal timber movement. Roof timbers expand in summer and contract in winter. Rigid closed-cell foam cannot follow that movement, so the bond line is stressed repeatedly until it fails.
Pro Tip: Competent installers check drum temperatures before spraying (typically 18–24°C for the chemical components), perform a test spray on a scrap board to verify cell structure, and limit each lift to the manufacturer's recommended thickness, usually 25–50 mm per pass.
Pre-existing roof defects are another complicating factor. Foam applied over a failing roof covering can seal in pre-existing damp or ventilation problems, making subsequent detection and remedial work considerably harder.
How to spot shrinkage: an inspection checklist
You do not need specialist equipment for a first-pass inspection. Work through these steps before calling anyone.
- Look for gaps at the rafter line. Shine a torch along each rafter. Any visible gap between the foam and timber, however small, is worth photographing and measuring with a ruler.
- Check for surface cracking. Run your eye across the foam face. Fine diagonal or grid-pattern cracks indicate thermal cycling stress. Wider cracks that expose the timber below are more serious.
- Note discolouration. Yellow or brown staining on or near the foam often signals moisture ingress. Dark patches on timber visible through gaps suggest prolonged wetting.
- Press the foam gently. Open-cell foam should feel firm but slightly yielding. If it feels wet, spongy, or crumbles, moisture has penetrated. Closed-cell foam should feel hard; any flex at the rafter edge suggests delamination.
- Check for odour. A musty or earthy smell in the loft space points to active mould or timber decay, even when nothing is visible.
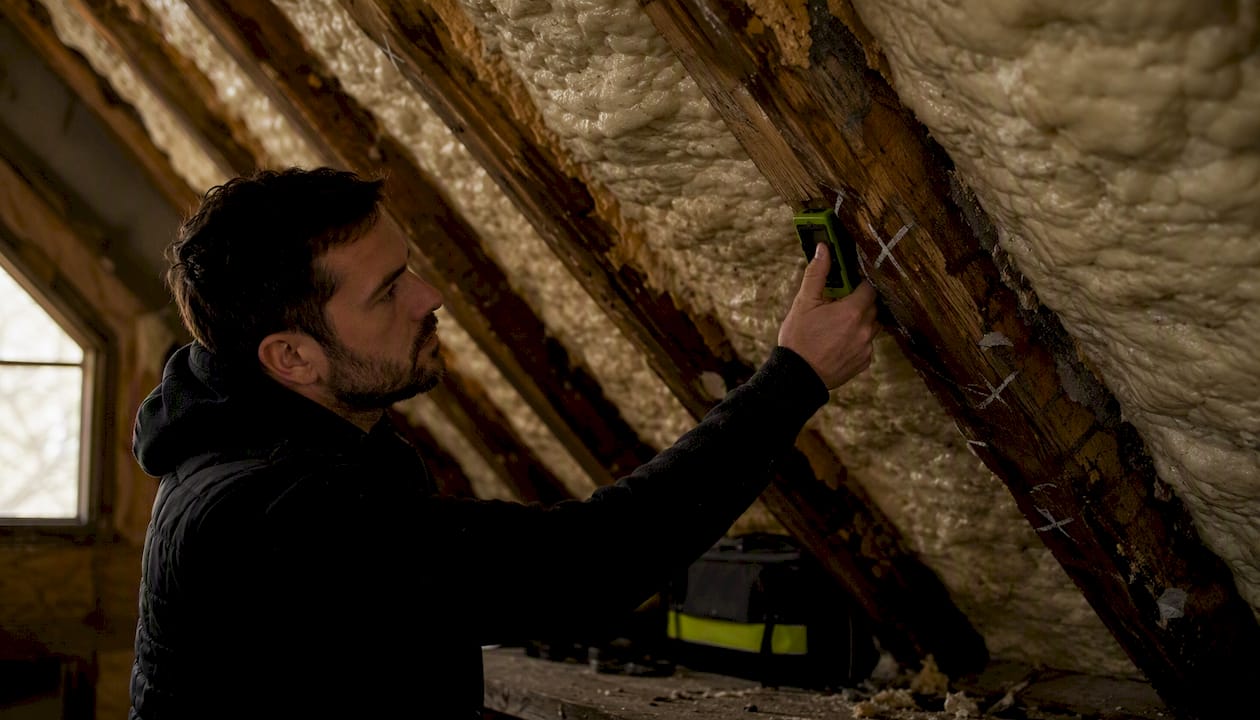
- Use a handheld moisture meter. Press the probes into any accessible timber at the rafter edges. Readings above 20% moisture content in softwood indicate elevated decay risk.
- Document everything. Take wide-angle shots showing the full rafter bay, then close-ups of any gaps or cracks. Include a ruler or coin for scale. These photographs carry real weight with lenders and surveyors.
Pro Tip: If you are preparing for a sale or remortgage, take a full set of photographs before any surveyor visits. A timestamped record of the foam's condition at a specific date protects you if the situation worsens between inspection and completion.
Why shrinkage matters in the UK: structural risks and mortgage implications
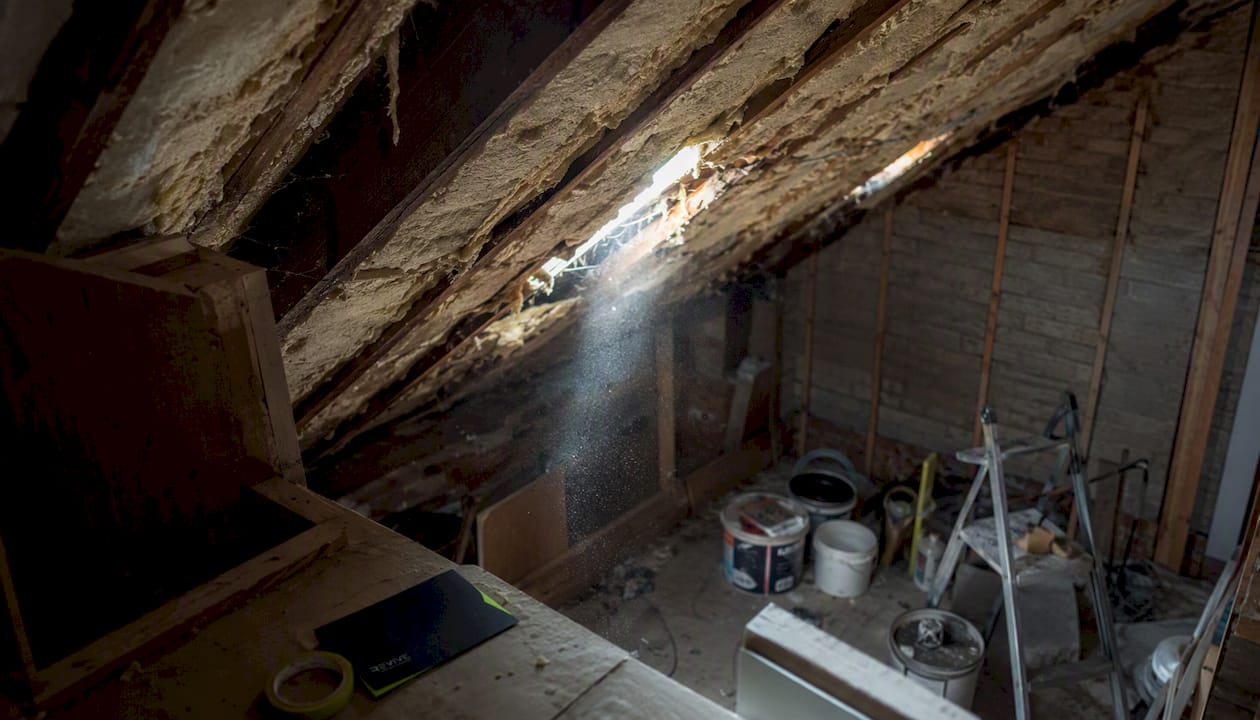
Shrinkage rarely causes immediate structural collapse. The danger is slower and harder to see. When foam pulls away from rafters, it creates an air channel. Hygrothermal modelling shows that introducing an air gap between insulation and rafter raises relative humidity in the outer timber region and reduces summer drying, with RH remaining above 85% for extended periods. Timber held at that humidity level is at genuine risk of fungal decay.
The PCA's information paper makes a further point: spray foam applied to extend the life of a failing roof covering carries a higher risk profile than foam installed purely for thermal performance. In many UK homes, the two uses are mixed, and the original intent is rarely documented.
Converting a cold, ventilated roof into an unventilated warm roof without correct vapour control compounds the problem. Moisture that previously escaped through ventilation now has nowhere to go, and hidden accumulation accelerates timber decay behind the foam face.
| Risk scenario | Structural risk | Mortgage/insurance impact |
|---|---|---|
| Minor surface crazing, no gap, paperwork available | Low | Lender may accept with surveyor sign-off |
| Small gaps at rafter edges, no visible rot | Moderate | Case-by-case lender assessment likely |
| Visible delamination, suspected damp, no paperwork | High | Lender refusal probable; removal likely required |
| Active rot confirmed, foam concealing extent | Severe | Removal and timber repair required before any lending |
BBC reporting from November 2024 found that around a quarter of the UK's biggest mortgage providers would not lend against properties with spray foam in the roof at all, regardless of condition. The House of Commons Library briefing documents lender refusal rates and notes that removal costs can be significant, with industry commentary citing figures around £3,200 for a three-bedroom roof as an example. Lenders commonly demand removal or an intrusive survey; remedial measures such as a vapour control layer alone are often not accepted for mortgage compliance.
For further details on how lenders treat spray foam properties, the spray foam mortgage guide sets out what documentation lenders request and how to prepare.
Immediate steps to take if you suspect shrinkage
Act this week. The priority is to preserve evidence, avoid making things worse, and get the right professional involved.
Do:
- Photograph gaps, cracks, and any staining, with a ruler for scale and a date stamp.
- Record moisture meter readings on accessible timber and note the date and ambient conditions.
- Locate and keep any installation paperwork, BBA certificates, or guarantees from the original installer. Surveyors recommend retaining these documents to assist future valuations and remortgage applications, as confirmed by the House of Commons Library briefing.
- Contact your insurer to check whether your policy covers investigation or remediation costs.
- If a sale or remortgage is imminent, speak to a mortgage adviser before instructing a surveyor, so you understand the lender's specific requirements.
Don't:
- Cover gaps with filler, paint, or additional foam. This destroys evidence and can trap moisture.
- Attempt large-scale DIY removal. Spray foam removal generates fine particulate dust and requires controlled conditions.
- Rely on an installer's insurance-backed guarantee alone to satisfy a lender. These guarantees often do not meet lender requirements; independent certification carries far more weight.
If you need an immediate professional view, book a free inspection to get a clear picture of the foam's condition before committing to any remediation route.
Repair choices: from monitoring to full removal
The right remediation route depends on the severity of shrinkage, the condition of the timber, and whether a sale or remortgage is planned.
| Route | When appropriate | Typical cost range (UK) | Likely outcome |
|---|---|---|---|
| Monitoring only | Minor crazing, no gap, full paperwork, no mortgage activity | Nil | Acceptable short-term if reviewed annually |
| Vapour control layer installation | Gaps present but timber sound; lender may accept | Varies by roof area | Reduces moisture risk; may not satisfy lenders |
| Partial removal (affected bays only) | Localised delamination, timber sound elsewhere | Varies; less than full removal | Reduces risk in affected areas; lender may still require full removal |
| Full removal and timber inspection | Delamination, suspected rot, lender refusal, or sale planned | Industry commentary cites around £3,200 for a three-bedroom roof | Restores roof to pre-foam condition; enables mortgage compliance |
| Structural timber repair | Rot confirmed after removal | Additional cost on top of removal | Required before any re-insulation or certification |
Health and safety considerations apply to all removal work. A competent contractor will assess whether any other materials in the roof space (older insulation boards, for example) require testing before work begins. Dust control measures are standard on professional jobs, and all waste foam must be disposed of in accordance with UK waste regulations. Confirm that your contractor carries adequate public liability insurance before work starts.
For a detailed breakdown of removal costs, the spray foam removal costs page gives current UK price guidance.
How to choose a removal specialist: checklist and red flags
Not every contractor offering spray foam removal has the knowledge to handle the mortgage compliance side. Use this checklist before signing anything.
Required credentials and what they mean:
- PCA-certified technicians. The Property Care Association sets standards for surveyors and contractors working with spray foam. PCA certification means the technician has been assessed against those standards.
- RICS survey referrals. A reputable contractor will recommend an independent RICS-qualified surveyor for the pre-removal and post-removal assessments, rather than relying solely on their own report.
- Insurance-backed warranty. A 10-year insurance-backed warranty on the removal work protects you if problems emerge after the contractor has finished.
- Public liability insurance. Confirm the level of cover and ask for a certificate before work starts.
Red flags:
- No written paperwork or contract before work begins.
- Unwillingness to allow or recommend an invasive inspection before removal.
- Pressure to sign quickly or accept a time-limited offer.
- Vague answers about disposal of removed foam.
- No mention of post-removal certification or mortgage-compliance documentation.
Questions to ask any contractor:
- Are your technicians PCA-certified, and can you provide evidence?
- Will you recommend an independent RICS surveyor for the pre- and post-removal survey?
- What removal method do you use, and how do you control dust?
- How do you dispose of the removed foam, and can you provide a waste transfer note?
- What does your insurance-backed warranty cover, and for how long?
- Will I receive a mortgage-compliance certificate on completion?
- Can you provide references from recent jobs in my area?
- What happens if you find rot or structural damage during removal?
- How long will the job take, and will the roof be weathertight throughout?
- Is your quote fixed, or can it change once work starts?
How professional removal works: what to expect
A reputable removal process follows a clear sequence, and you should receive specific deliverables at each stage.
- Pre-inspection. A certified technician visits to assess foam type, condition, and extent of any shrinkage or delamination. Moisture readings are taken and photographed. This stage determines whether an invasive inspection is needed before removal begins.
- Invasive inspection (where required). Where delamination or suspected rot is present, the surveyor will open up sections of the foam to inspect the timber directly. This is the only reliable way to assess hidden decay.
- Controlled removal. Foam is removed using mechanical and chemical methods appropriate to the foam type (open-cell or closed-cell). Dust suppression and containment are maintained throughout. The removal process page explains the specific methods used.
- Timber drying and repair. Any affected timber is allowed to dry to an acceptable moisture content. Decayed sections are repaired or replaced before the roof is re-inspected.
- Final survey and certification. A post-removal survey confirms the roof's condition. The homeowner receives a written report with photographs, moisture readings, and a mortgage-compliance certificate compatible with RICS and PCA requirements.
Revive Maintenance, operating as Sprayfoamremovalhelp, follows this process on every job across London and the South East. Clients deal directly with the team carrying out the work, with no intermediaries and no hidden costs. The completion reports page explains exactly what documentation you receive after removal.
When is monitoring acceptable, and when should you remove?
Monitor if: the foam shows only minor surface crazing with no measurable gap at the rafter, timber moisture readings are below 20%, you hold full installation paperwork including a BBA or equivalent certificate, and no mortgage or sale activity is planned in the near term. Review the condition annually and re-photograph.
Remove if: you can see delamination or gaps at the rafter line, moisture readings are elevated, a lender has raised concerns, or you are planning a sale or remortgage. Removal is also the right call where the original installation intent was to extend a failing roof's life rather than to insulate, given the higher risk profile the PCA identifies for that scenario.
If you are unsure which path applies to your property, the do I need to remove spray foam decision guide walks you through the key criteria.
Key takeaways
Spray foam shrinkage is a real and documented risk in UK homes, and delamination combined with inadequate vapour control is the primary driver of timber decay and mortgage refusal.
| Point | Details |
|---|---|
| Shrinkage creates moisture risk | Even a 1 mm gap at the rafter raises timber humidity and reduces drying, increasing decay risk. |
| Mortgage impact is significant | Around a quarter of the UK's biggest mortgage providers refuse to lend on properties with roof spray foam, regardless of condition, and the remainder assess such properties case-by-case. |
| Documentation matters | Keep all installation paperwork and BBA certificates; they carry real weight with lenders and surveyors. |
| Removal is often the only lender-accepted fix | Vapour control layers alone are frequently rejected by lenders; full removal and certification is the standard route to mortgage compliance. |
| Sprayfoamremovalhelp offers certified removal | PCA-certified technicians, a 10-year insurance-backed warranty, and mortgage-compliant certification across London and the South East. |
A practical perspective on spray foam shrinkage
The conversation around spray foam in UK homes has become dominated by worst-case headlines, and that creates its own problem. Homeowners either panic and pay for unnecessary removal, or they dismiss the issue entirely because "the foam looks fine." Both responses miss the point.
The real risk is not the foam itself. It is the combination of shrinkage-created gaps and the conversion of a cold, ventilated roof into an unventilated warm roof without correct vapour control. That combination allows moisture to accumulate silently behind the foam face, and by the time rot is visible, it has usually been progressing for years.
What I find consistently underestimated is the documentation gap. Many homeowners have foam installed, receive no paperwork, and then discover years later that the absence of a BBA certificate or installer's report is as damaging to a mortgage application as the foam itself. An independent, RICS-verified assessment carries far more weight with lenders than any contractor-issued guarantee. If you are planning to sell or remortgage within the next few years, commission that independent survey now, before a buyer's surveyor does it for you under time pressure.
The other thing worth saying plainly: monitoring is a legitimate choice for low-risk installations with good paperwork. Not every property with spray foam needs immediate removal. But "monitoring" means annual photographs, moisture readings, and a willingness to act quickly if the picture changes. It does not mean hoping the problem goes away.
Sprayfoamremovalhelp: certified removal across London and the South East
Sprayfoamremovalhelp gives you direct access to PCA-certified technicians who carry out the removal themselves, with no middlemen and no hidden fees. Every job comes with a 10-year insurance-backed warranty and a mortgage-compliant completion certificate that satisfies RICS and lender requirements.

Whether you need a free initial inspection, an emergency removal ahead of a mortgage deadline, or a full removal and timber repair programme, the team covers London and the South East with transparent pricing. Over 1,000 homeowners have used the service to restore their properties to a mortgageable condition.
Read the full spray foam removal guide to understand the process, or book your free inspection today to get a clear, no-pressure assessment of your roof's condition.
Useful sources
- Spray foam insulation applied to timber sloped roofs in dwellings (technical report) — supports hygrothermal risk claims and the 85% RH modelling findings.
- Appendices: spray foam insulation applied to timber sloped roofs (Gov.uk) — detailed hygrothermal simulation data underpinning the risk table.
- RICS: Understanding spray foam insulation — covers application quality, historical foam degradation, and surveyor guidance.
- PCA: Sprayed foam insulation information paper (November 2021) — sets out installation intent risk levels and PCA guidance on appropriate uses.
- Gov.uk: Exchange of letters on spray foam insulation, May 2024 — ministerial and HSE correspondence on moisture risk research.
FAQ
Why is my expanding foam shrinking after application?
Shrinkage after curing usually points to an incorrect chemical mix ratio, excessive lift thickness during application, or poor adhesion to a cold or damp substrate. These factors weaken the foam's cell structure and cause it to pull back from its cured dimensions over time.
Is spray foam insulation banned in the UK?
Spray foam is not banned in the UK, but its use in residential roofs is subject to significant scrutiny from lenders, surveyors, and government bodies. BBC reporting from November 2024 found that around a quarter of the UK's biggest mortgage providers refuse to lend against properties with spray foam in the roof, regardless of condition. The rest assess such properties case-by-case.
Why are so many homeowners removing spray foam?
The main drivers are mortgage refusal and hidden moisture risk. Around a quarter of the UK's biggest lenders will not lend on properties with spray foam in the roof, and removal is often the only route to restoring full mortgage compliance. Concealed timber decay, discovered during or after removal, is a further reason many homeowners act.
How long does spray foam take to fully expand and cure?
Most spray polyurethane foam products reach their full expansion within seconds of application and achieve a tack-free surface within minutes. Full chemical cure, where the foam reaches its final hardness and dimensional stability, typically takes 24–72 hours depending on product type, temperature, and humidity.
Can I use Sprayfoamremovalhelp if I need urgent removal?
Yes. Sprayfoamremovalhelp offers emergency spray foam removal for homeowners facing active mortgage deadlines or rapid timber deterioration, with PCA-certified technicians available across London and the South East.