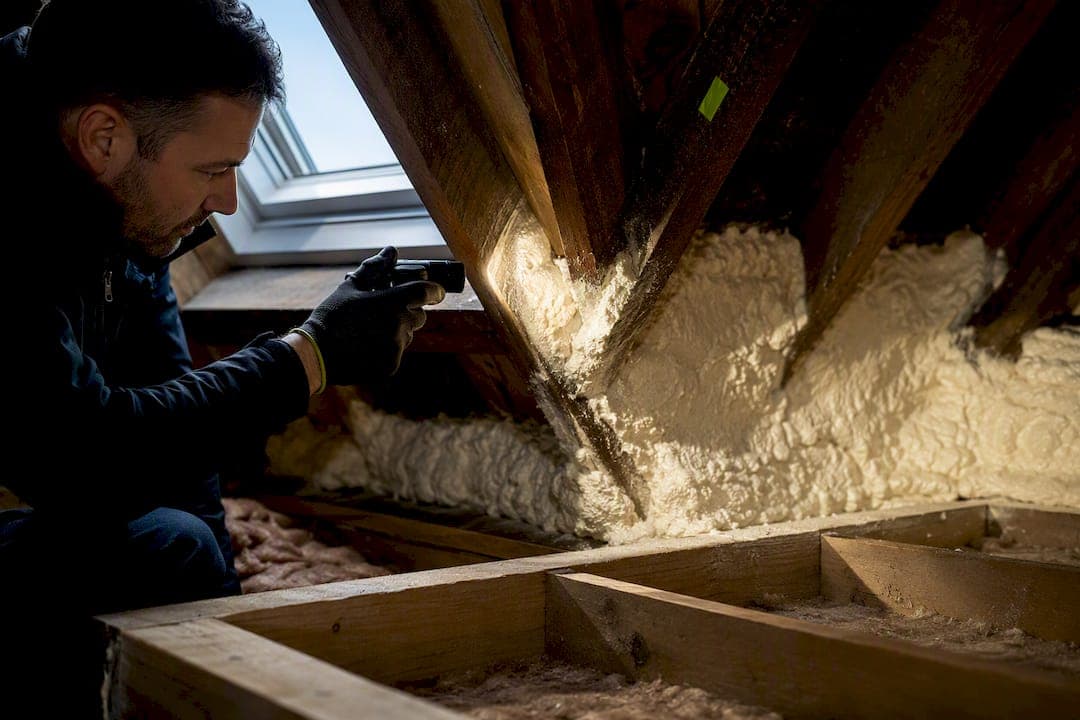
Spray foam often hides the very leak it appears to have solved, and it can accelerate timber decay by trapping moisture against rafters and battens. If you have noticed damp patches, staining, or a musty smell since your loft was insulated, do not wait: book a professional diagnostic inspection. In the meantime, protect the interior, photograph any visible damage, and resist the urge to trim the foam or add more on top.
TL;DR:
- Applying spray foam directly onto tiles or slates without proper ventilation significantly increases moisture buildup and timber decay risks.
- Specialist equipment like infrared thermography and moisture meters are essential for detecting hidden leaks beneath foam, as visual inspection is no longer effective.
- Early removal or repair is more cost-effective and less damaging than waiting until timber decay causes structural problems or requires full roof replacement.
- A documented condition report, moisture readings, and photographs are critical for accurate diagnosis and are often required for insurance or mortgage purposes.
- Professional, non-destructive inspection should always precede any DIY attempts to fix or reseal foam, which can conceal leak signs and worsen underlying damage.
Table of Contents
- Why leaks appear or get worse after spray foam
- How to detect a leak hidden beneath spray foam
- What to do (and what to avoid) before a professional arrives
- Professional options: repair in place, partial removal, or full removal and recovery
- What a credible inspection and removal service should provide
- Author's note: manage the timber risk first, worry about cosmetics later
- Getting a proper diagnosis without the guesswork
- Where to check the official guidance
- Sources
- FAQ
Why leaks appear or get worse after spray foam
Spray foam bonds directly to the underside of your roof, which means it also bonds directly over any existing weakness. Once it cures, you lose the ability to see daylight through gaps, spot damp trails, or check for movement at the laps. RICS makes this point clearly in its consumer guidance: a roof must be wind and watertight before insulation goes in, because spray foam can restrict inspection and conceal leaks that lead to rotting timber.
Some installation patterns raise the risk far more than others:
- Foam sprayed directly onto the back of tiles or slates, with no ventilated gap behind it.
- Closed-cell foam used over underlays that were never designed to sit sealed against a vapour-tight layer.
- Ventilation paths at eaves and ridge blocked off entirely during application.
- Poor bond at penetrations, laps, and flashings, leaving hairline gaps water can travel through.
Hygrothermal modelling commissioned to test these scenarios found the highest moisture and timber decay risk occurs when foam is applied straight onto tiles or slates, with risk dropping significantly where open-cell foam is fitted with a proper air and vapour control layer and adequate spacing, in line with BS 5250:2021. The installation detail matters more than the foam type alone. Closed-cell foam is also considerably less vapour-permeable than open-cell, according to the Centre for Sustainable Energy, which is why trapped moisture behind closed-cell tends to linger rather than dry out.
How to detect a leak hidden beneath spray foam
Once foam is in place, a torch and a good eye are not enough. You cannot see daylight through a cracked tile, and you cannot follow a damp trail across sarking felt that is now buried. Detecting a leak at this stage usually needs specialist equipment and a trained operative.
- Infrared thermography scans the roof from inside the loft, picking up temperature differences that often correspond to trapped moisture behind the foam.
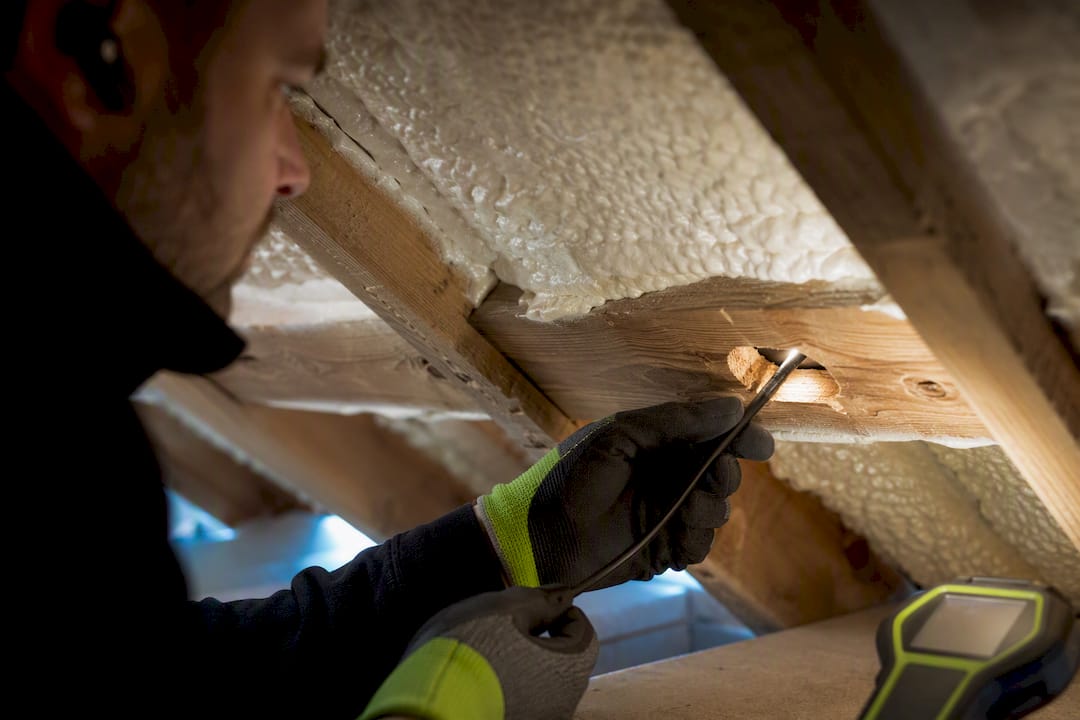
- Borescope inspection feeds a small camera into a drilled access point to check the bond line between foam and timber without removing large sections.
- Moisture meters measure timber moisture content directly, usually at wall plates, ridge boards, valley boards, and rafter feet, the weak points where foam often fails to adhere fully.
- Slit-sampling cuts a small, controlled slit into the foam to check for trapped water at the substrate. It works, but it must be carried out by trained operatives, since a careless cut can introduce new problems rather than solve the old one.
Pro Tip: If a surveyor mentions moisture content readings, ask what threshold they use before recommending removal. Many professional inspection protocols treat readings above 18% as a trigger for further invasive checks, so a number on its own means little without that context.
Watch for red flags between inspections: a persistent musty smell, staining at the eaves or wall plates, white salt deposits on brickwork, visible mould, or timber that feels soft or crumbles under light pressure. Any one of these points to decay that visual checks alone will not catch.
What to do (and what to avoid) before a professional arrives
Your priority is limiting damage and preserving evidence, not fixing the roof yourself.
- Check for electrical risk first. Damp near light fittings, wiring, or consumer units means switching off power to that circuit and staying out of the loft.
- Look for sagging ceilings, bulging plaster, or fresh cracking. Any of these signals possible collapse, so leave the room and keep others out until it is assessed.
- Position buckets or trays under active drips and move stored items away from the affected area.
- Photograph every stain, drip, and damp patch with a date stamp, and keep a simple written log of when each appeared.
- Clear gutters and downpipes nearby, since a blocked gutter can mimic or worsen a roof leak.
- Keep windows and any remaining vents unobstructed to reduce indoor humidity while you wait for inspection.
Do not cut into the foam yourself, apply more foam over a suspect area, or attempt any structural repair without a qualified surveyor. Consumer groups are consistent on this point: professional, non-destructive assessment should always come before any DIY fix, because trimming or resealing foam over an active leak just buries the evidence a surveyor needs.
Professional options: repair in place, partial removal, or full removal and recovery
Not every leak means stripping the whole roof. The right pathway depends entirely on what the inspection finds underneath the foam, and no reputable surveyor should recommend a course of action before checking.
Repair in place can work when the underlay is still intact, timber moisture readings are normal, and the leak traces to a single, identifiable defect such as a cracked tile or a failed flashing. This usually means a localised external repair with no need to touch the foam at all.
Partial or sectional removal becomes necessary once decay is confirmed in a limited area. A section of foam is stripped back, the affected timber treated or replaced, and the roof covering repaired before new insulation goes back in, if appropriate.
Full strip and recover is the pathway when decay is widespread, insect infestation is present, or the foam is closed-cell applied directly onto the roof covering. The Property Care Association is explicit on this last point: closed-cell foam bonded straight to tiles or slates is extremely difficult to remove in sections, so full strip-and-recover is often the only realistic route once repairs are needed. Our own guide to closed-cell removal covers why this foam type behaves so differently to open-cell once decay sets in.
Trade-offs to weigh:
- Access and scaffolding needs often drive cost more than the foam removal itself.
- The extent of decay found once work begins can shift the scope, and a fair contractor should explain that possibility upfront rather than after invoicing.
- Timescales vary from a single day for a targeted repair to several weeks for a full re-roof, so treat any fixed quote given without an inspection with caution.
What a credible inspection and removal service should provide
A proper diagnostic visit leaves you with evidence, not just an opinion. Expect moisture meter readings tied to specific locations, borescope images or slit-sample findings where relevant, dated photographs, and a written condition report you can keep on file.
You should also get straightforward answers on scope (repair versus removal), transparent pricing with no vague add-ons, and a realistic timescale. Many UK households have gone through a professional spray foam assessment or removal starting with a documented inspection. Look for technicians using non-destructive diagnostic methods, working in line with PCA and RICS guidance, and able to produce mortgage-compliant paperwork if you are selling or remortgaging.
Author's note: manage the timber risk first, worry about cosmetics later
The pattern that comes up again and again is a homeowner who noticed a small stain months earlier, assumed it was cosmetic, and only called someone once ceiling plaster started bulging. Early inspection is almost always cheaper than late discovery, because timber decay does not stay contained.
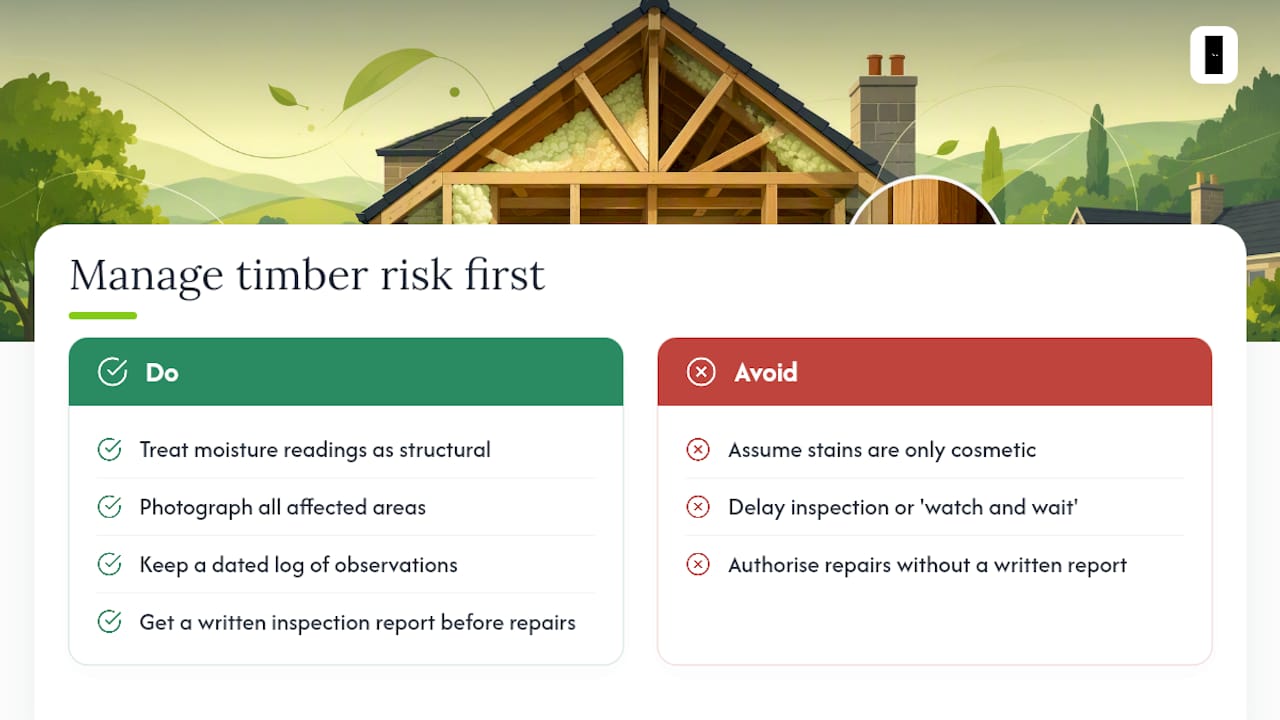
My advice: treat any moisture reading or red flag as a structural question first, not a decorating one. Photograph everything, keep a log, and get a written report before you agree to any repair. That documentation matters just as much for insurers and mortgage lenders as it does for the contractor doing the work. If you have any of the warning signs covered above, contact a qualified inspector promptly rather than watching and waiting.
— jessica
Getting a proper diagnosis without the guesswork
Some companies offer a direct alternative to booking a generic loft survey, with PCA-certified technicians carrying out mortgage-compliant removal for both open and closed-cell foam in various locations, allowing clients to deal directly with the team performing the work to avoid middleman markups or vague pricing.

Every job should start with a documented condition report and may lead to a targeted repair, sectional removal, or full strip-and-recover, often backed by an insurance-backed warranty. If you have noticed staining, a musty smell, or damp timber since your foam went in, book a free inspection to get moisture readings and a written report before deciding anything. Where the situation looks urgent, an emergency removal can be arranged instead of a standard scheduled visit.
Where to check the official guidance
For readers who want the source documents: the RICS consumer guide covers homeowner risk in plain terms, the PCA information paper sets out removal thresholds, and the government hygrothermal modelling report explains the moisture science behind foam-related decay.
Sources
- Property Care Association — Sprayed foam insulation information paper (Nov 2021)
- RICS — Spray foam insulation (consumer guide)
- Spray foam insulation applied to timber sloped roofs in dwellings — hygrothermal modelling report
- National Spray Foam Advice — Property Care Association spray foam guidance
FAQ
Will expanding foam stop a roof leak?
No. Expanding foam does not seal a roof against water and can trap moisture against timber, hiding an active leak while decay develops underneath it.
Can spray foam insulation cause water leaks?
Spray foam does not usually create a leak on its own, but it conceals existing weaknesses and can worsen moisture retention against timber, especially where closed-cell foam is applied directly to tiles or slates.
Does spray foam damage a roof?
Foam itself does not damage sound timber, but by blocking ventilation and hiding leaks it can accelerate rot in roofs that already have a defect, which is why surveyors recommend confirming a roof is watertight before insulating it.
Can spray foam be used to stop leaks in a roof?
No. Spray foam is an insulation product, not a waterproofing repair, and using it to mask a leak typically delays proper diagnosis while damage continues underneath. A professional inspection and, where needed, removal for repair is the reliable route to actually stopping the leak.